Monday, January 11, 2016

3D Feathering Eyebrow in Busan

My eyebrows are really sparse and not as full (Seen below). I decided to take advantage of the 3D Feathering Eyebrow in South Korea while I'm here. It was very difficult finding places that actually did 3D Feathering Eyebrows since my Korean is not as fluent. Here is her work from previous clients. Check out her blog: http://cafe.naver.com/cocolily2/812 (It's all in Korean but her work is shown by pictures)


3D Feathering Eyebrow is also called eyebrow embroidery. It is a cosmetic tattooing which is a semi-permanent makeup known as pigment embroidery. It is very common procedure done in Southeast Asia. 

The thoughts of thinking about eyebrow tattoos is not the ones with a high arched, straight line with a weird discolored that looks bluish-gray or the fact that they were drawn on with a crayola crayon. It's not!!!

Eyebrow embroidery is a cosmetic procedure that is a semi-permanent pigment. Pigment is pushed into the surface of the skin with a fine blade that mimic the growth of your eyebrow hairs. It creates bolder, natural looking full eyebrows (After the procedure).


If would like to get your Eyebrows done in South Korea, I highly recommend her! Keep reading. I will post about how to get there and the process done for my natural looking eyebrows. It is by appointment only so call to book an appointment. Her English is not great so speak really slow 010-9326-1606. The cost of the 3D feathering eyebrow is 150,000 Won. It includes an eyebrow consultation, touch up, and ointment after the procedure. (Price is from 2015, Price may change)

How to get to the 3D Feathering Eyebrow Boutique in Seomyeon, Busan:

1. From Busan Station, take the subway to Seomyeon.

2. Take Exit 2, walk straight out until Olive young is on the left. Take that left and walk straight down.

2. Walk down this street.
3. It is in this building called SSang Yong Apartment. Once at the intersection, turn right.


4. Cross the street and enter the Ssang Yong Apartment building. 

5. Take the elevator up to 12. Her place is in 1216. 

Inside is a very nice set up area. She has a white vanity on the left on the right she has a nice comfy bed laid out. 

Let's start with the procedure:

1. The tattoo artist will draw the outline of the eyebrows. She did a look what she thought looked good. She does a really good job!!! (She is a artist and she showed some of her work. It was pretty!)


2. She will place a numbing agent on your eyebrows with a plastic wrap to cover it. The wait game begins for about 20-30 minutes.


3. After the numbing cream has started to work it's magic, she told me to lay down on to the bed. She starts to begin the procedure. The tattoo artist uses a new micro-blade and she starts the eyebrow design. It feels like scratches for the most part but it did not hurt at all. (bleeding can happen, I bled just a little)


4. Afterwards, she adds a thick pasty pigment all over my eyebrows for about 10-20 minutes. 


5. She will wipe off the pigment paste and add extra strokes if needed and I also told her to add some strokes on places I've thought she missed.

6. After the process is done, there will be an ointment that needs to be applied. It is almost like Vaseline. I've applied a rice size amount in the morning and night for about 2 weeks. 

The instructions are in Korean but I will write it in English here. Make sure not to scratch or wet your eyebrows as much for two weeks. The peeling starts on the end of the 1st week or second do not pick it. HANDS OFF! Let it fall off naturally. Picking it may cause scarring. It may look dark but it will fade as the week goes on and it will look natural.

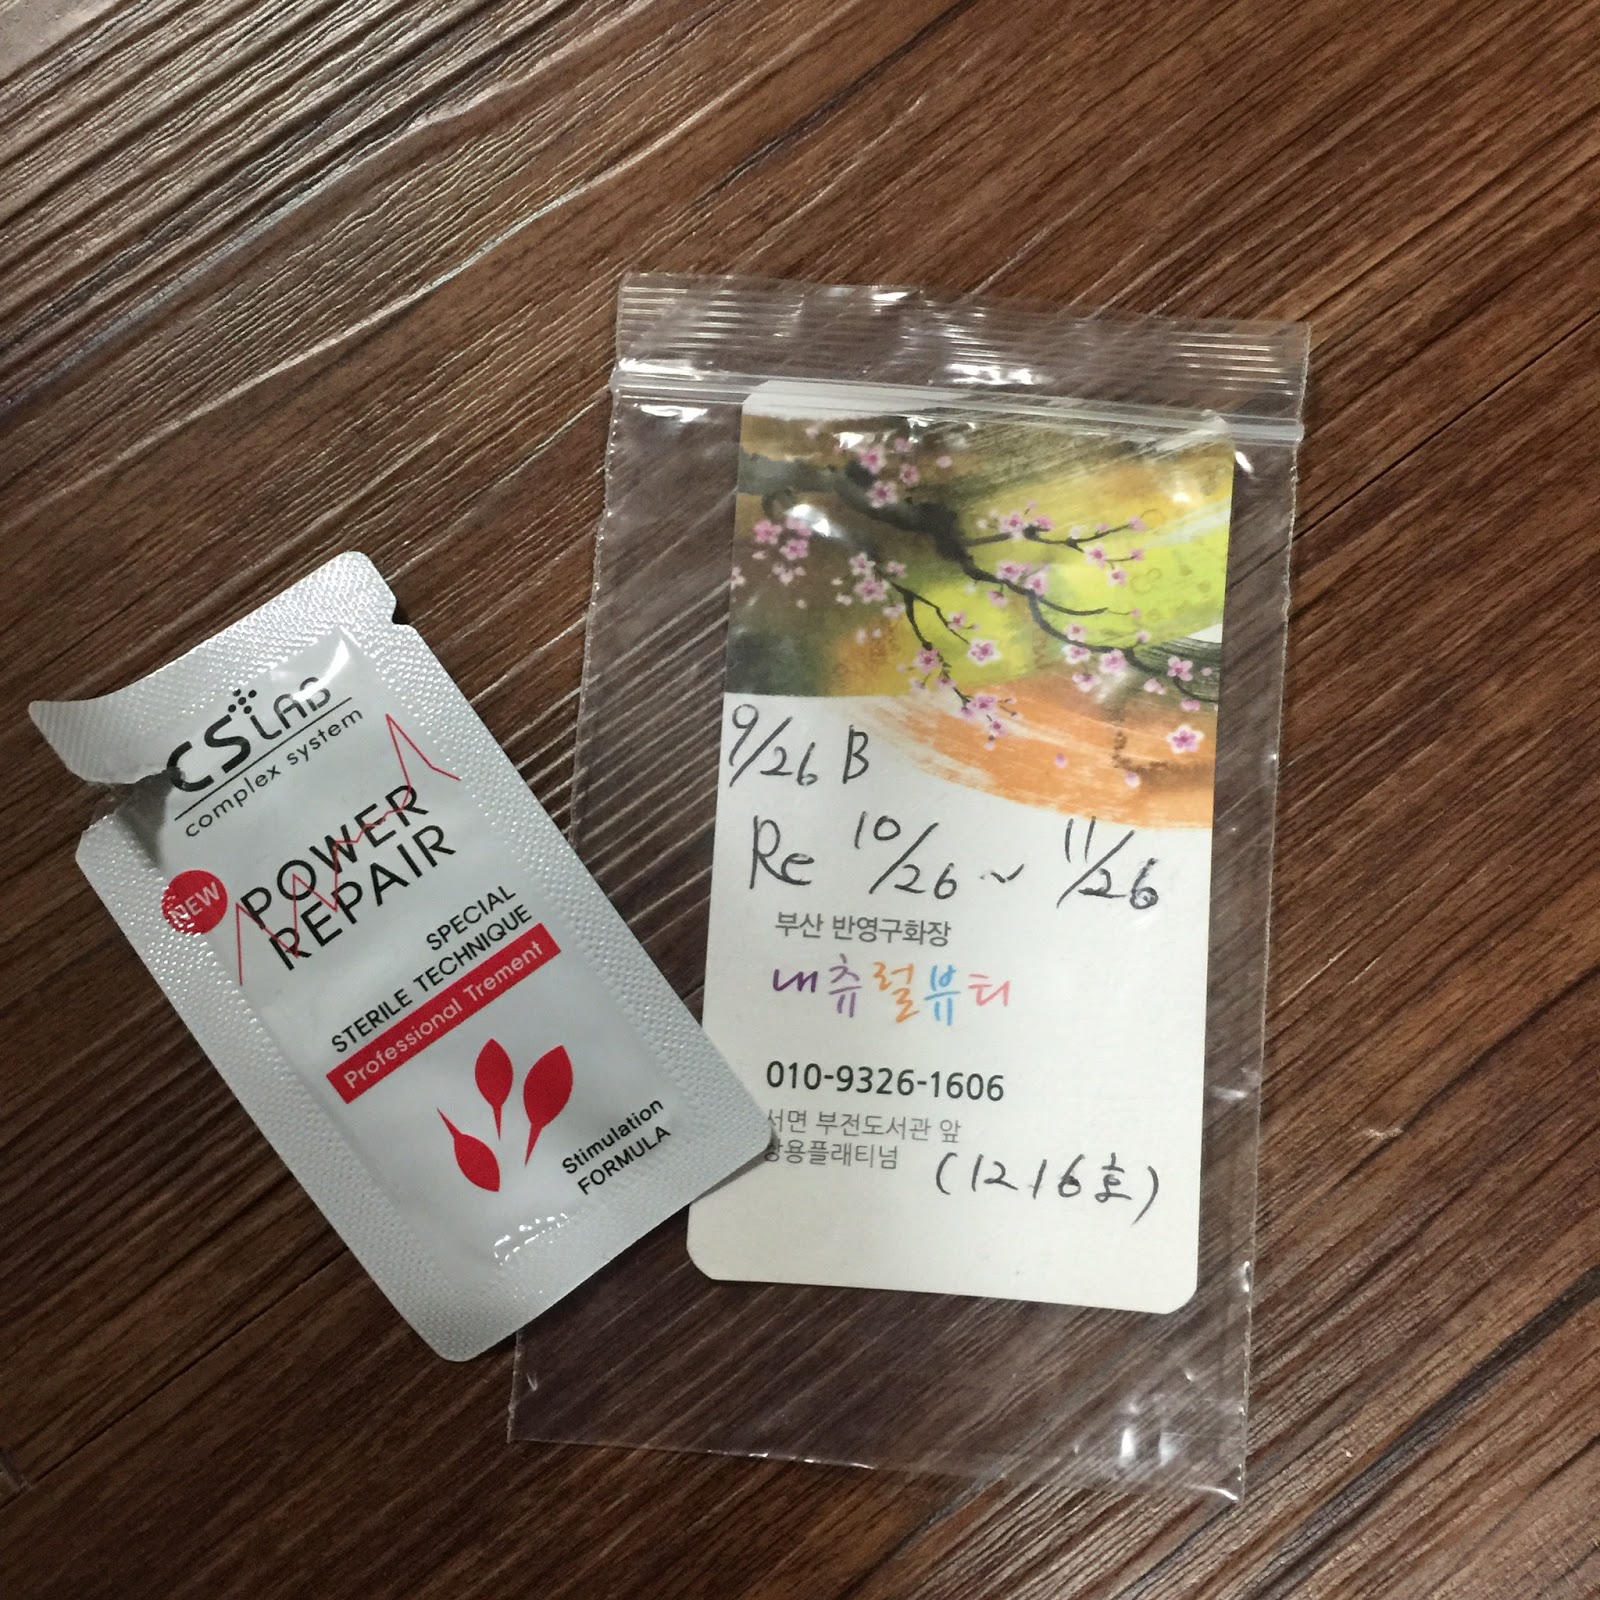
On the instruction card, the tattoo artist has written the days for when the touch up session should be scheduled. It is usually a month later and the procedure is quite the same.  


Here are my before and after pictures: 


I have also took a friend here and she LOVES her eyebrows. Here is a glimpse of hers.


Sunday, December 20, 2015

UMF Korea 2015


It was amazing as I love EDM. Check Ultra 2015!

How to apply to become an English Teacher

1. You need money about $3000 USD. 

The reason why I suggest having that much money is because of the documents that must be obtained, cost a butt load of money prior to submitting your application. 

Taking the TESOL and TEFL course are also pricey. I took advantage of the 150 hours online TESOL course available on Groupon which was about $69 and a 20 in hour TEFL class in New York which cost $700 including transportation and hotel fees.


 Groupon has two TESOL online courses available but are not always there so snatch it when you can.


This will also cover the airfare that will to be purchased after you've got hired. This will be reimbursed after 1 month of working in South Korea.

I've used Korean Horizon. Alistair was my recruiter and he did a good job. My experience using Korean Horizon was fast and efficient. There are other bloggers that didn't have the same experiences as I did. 

Here is the link: 

https://www.koreanhorizons.com/sub02.php


Good Luck!

What to Pack when Teaching Abroad


Here is my list I recommend:

Eyeglasses/Contacts (year supply)
Medicine (Midol, Tylenol, Advil and etc.)
Spices that you like (It is hard to come by here)
Makeup (Just basic that will last you a month because Korea has a lot of cosmetics here, unless you have a favorite brand in America you cannot live without..LOL)  
Winter Jacket (THICK & WARM)
Light Jacket
Rain Jacket
Sneaker (There will be a lot of walking, so bring comfortable shoes)
Slip-on shoes such as vans or keds or converse, whatever your style is (You will be taking your shoes off when you enter a building so slip on(s) are great!!)
1-2 pairs of Business Casual shoes (Flats)
Boots (Rain & Snow will be great)
2-3 T-shirts, Blouses, Tanks (Trust me pack light on these, you will mostly buy it here)
5-10 Jeans, Legging, Pants (I'm really tall so it's hard to get pants here, so I prepared to bring plenty to last me.)
Toothpaste 
Toothbrush
Cross body bag 
Plug Converters (they use prongs in Korea, I recommending bringing at least 5)
Backpack
English Games (English flash cards, the dollar store is great, they have goldfish English games and some other English flash cards which come in handy)
Flash Drive (You will be plugging your presentation or materials in different computers for every class)
Bedding (Bedsheets, they are not the same in the states. Their bedsheets is that scratchy material.)  

Also some things to give your co-teachers and students are nice such as honey, Starbucks coffee, American gifts and etc.

I hope I thoroughly explained your questions.  And Good Luck on packing!!! Packing was the worst part for me since I wanted to take my entire room with me.. :L :)

Documents Needed to Teach in South Korea


It's been two years since I had done the paperwork that is required to teach English in South Korea. I have tried countless of times to search about how to proceed with the documentations for the application to teach in South Korea. There are many websites that tell you what you need vaguely but doesn't really thoroughly explain the process like Marshall.

This website by Marshall Jones Jr. is all you need to get you through with the application. He list the step by step process on the paperwork on how to obtain, what to do, and etc. 

I highly recommend using and following his exact instructions. The information he had provided is very thorough and simple to follow. It is directed towards the US citizens who are applying to teach English in South Korea.I had precisely followed these steps exactly and had no problem with my applications (2013).

Marshall thoroughly explains every detail process for the applications. He evens explains on the beginning process on how to get a U.S. passport. 

Here is the direct link about the paperwork for South Korea. 


Good Luck!


How to use the washer and heating in South Korea


I hope this helps! :) Goodluck!

Tuesday, June 9, 2015

Piercing in South Korea


While I was waiting for my contacts & glasses to be finished, there was a jewelry shop that did piercings. I have wanted to re-pierce my ears but I was always busy doing something. I had my cartilage pierce last year but it closed up since I didn’t put earrings in.

The jewelry shop was right next to Eye Optical One store so it was perfect. I ended up getting 3 piercings, on my tragus, and two right next to each other on the side of my ear. Piercing cost only 10,000 Won ($8 USD) but the most expensive part was the earring itself. I ended up getting the 14k gold earrings which cost 50,000 Won each ($45 USD). I decided to get 14k gold earrings because I usually get an allergic reaction to the alloy metal and sterling silver.

The piercer did not know any English. She was friendly and was able to mark where the piercing looks the best. She also gave a discount, but only if we paid cash.

As I was getting my ears pierced, the piercer handed me a stuff teddy bear…which I thought was cute. I was seated on one of those plastic stool chairs seen everywhere at the street food vendors. I also want to mention that she did not wear gloves. The piercer sterilized the needle and earring with alcohol which if she didn’t I would have said something.


She also put some cream on which I believe is batrian, it is a clear cream that prevents infection, it looks like vaseline. I’m not going to lie the initial part when the needle is being punctured through my ear hurt like a b*&%$! Afterwards, there was no more pain besides a sore ear. I did it three times. I curse like there is no tomorrow when she punctured my ears..hahahha…

Overall, it was a good experience and I’m loving my new pieces on my ear.